The Essential Guide to Sub-Floor Preparation for DIY Flooring Enthusiasts
As a DIY flooring enthusiast, you're no stranger to the satisfaction of completing home improvement projects with your own two hands. When it comes to flooring installation, though, there's one crucial step that lays the foundation for a successful and long-lasting result – sub-floor preparation. In this blog, we'll delve into the importance of sub-floor preparation and provide you with essential tips to tackle this critical phase of your DIY flooring project.
Why is Sub-Floor Preparation Essential?
Sub-floor preparation is the process of ensuring your existing sub-floor is clean, level, and structurally sound before laying your new flooring. Neglecting this step can lead to a host of issues, such as uneven floors, premature wear, and even damage to your new flooring material. Proper sub-floor preparation is the key to achieving a seamless and professional-looking flooring installation.
1. Inspection and Repairs:
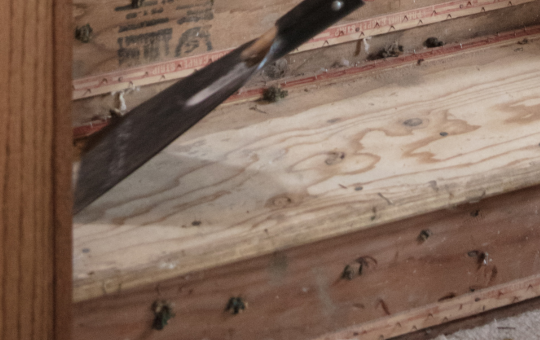
Before diving into your DIY flooring project, thoroughly inspect your sub-floor for any signs of damage, moisture, or unevenness. Address any issues promptly, as failing to do so could compromise the integrity of your new flooring.
2. Moisture and Vapor Barriers:
Moisture is the enemy of many flooring materials, causing warping and mold growth. Depending on your sub-floor type and the chosen flooring material, you may need to install a moisture or vapor barrier to protect your flooring investment from potential damage.
3. Leveling the Sub-Floor:
A level sub-floor is crucial for achieving a smooth and uniform flooring installation. Use leveling compounds or shims to address any uneven areas and ensure your flooring surface is ready for the next phase.
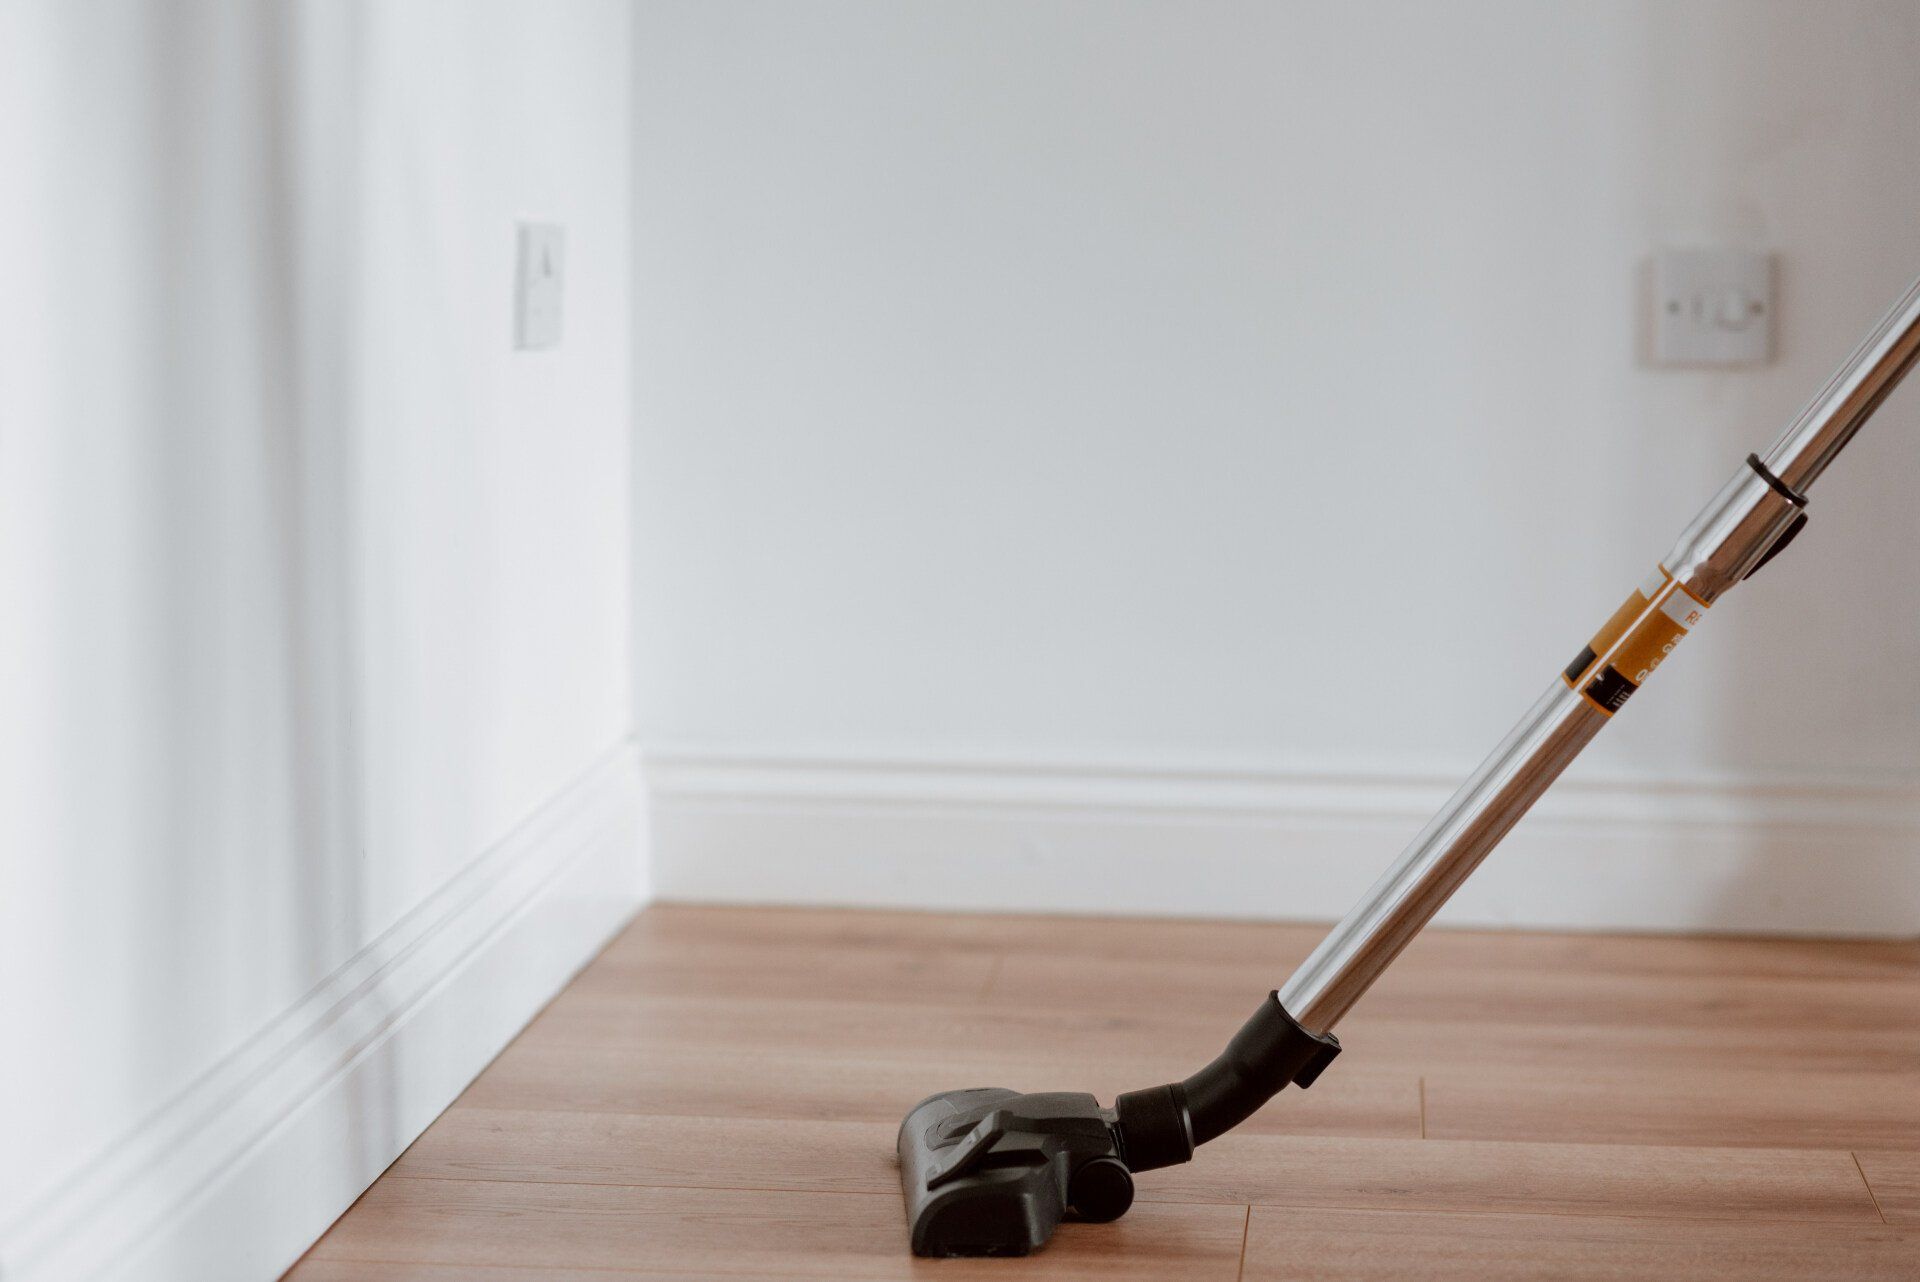
4. Proper Cleaning:
Dust, debris, and remnants from previous flooring can affect the adhesion of your new flooring material. Thoroughly clean your sub-floor, ensuring it's free from any loose particles that could hinder the installation process.
5. Acclimatization:
Allow your new flooring material to acclimate to the room's temperature and humidity before installation. This step prevents future issues like buckling or shrinking.
6. DIY vs. Professional Assistance:
While sub-floor preparation is essential, it can be a challenging task for DIY enthusiasts, especially if you're new to flooring installations. If you feel unsure or overwhelmed, don't hesitate to seek professional assistance. Flooring experts can ensure proper sub-floor preparation and offer guidance throughout your DIY project.
As a DIY flooring enthusiast, you know that proper preparation is the key to a successful home improvement project. Sub-floor preparation is no exception. By inspecting, repairing, and leveling your sub-floor, you lay the groundwork for a flawless flooring installation that will stand the test of time. Remember, if you encounter any challenges or uncertainties, flooring professionals are ready to lend a helping hand. Embrace the rewarding journey of DIY flooring and enjoy the fruits of your labor with a beautifully installed floor that adds both value and charm to your home. Happy flooring!


